Part of the Home Dash series at Château KavSmith. Start with the story if you haven't. Last updated 19 November 2026.
Short version: a Raspberry Pi, Home Assistant, and a small web app with no framework. Nothing in the cloud, no subscription, and the whole dashboard is smaller than most photos on your phone.
The one idea to take away: it's a separate frontend
This is the bit worth calling out, because it's what makes it different from most Home Assistant dashboards you'll see.
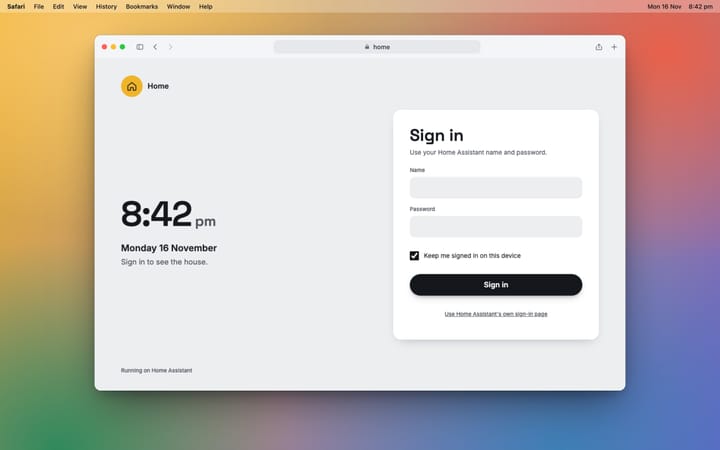
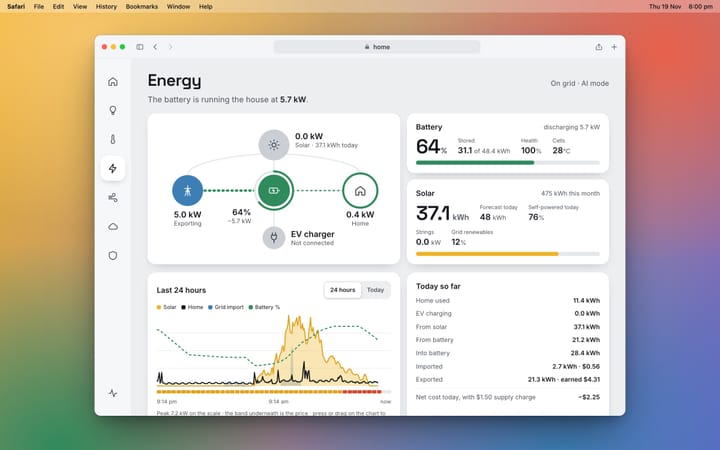
Home Dash is not a Home Assistant dashboard. It isn't a theme, a set of cards, or a layout built in Home Assistant's dashboard editor. It's its own app, with its own sign-in screen, its own pages and its own code. Home Assistant's interface isn't on the screen at all.
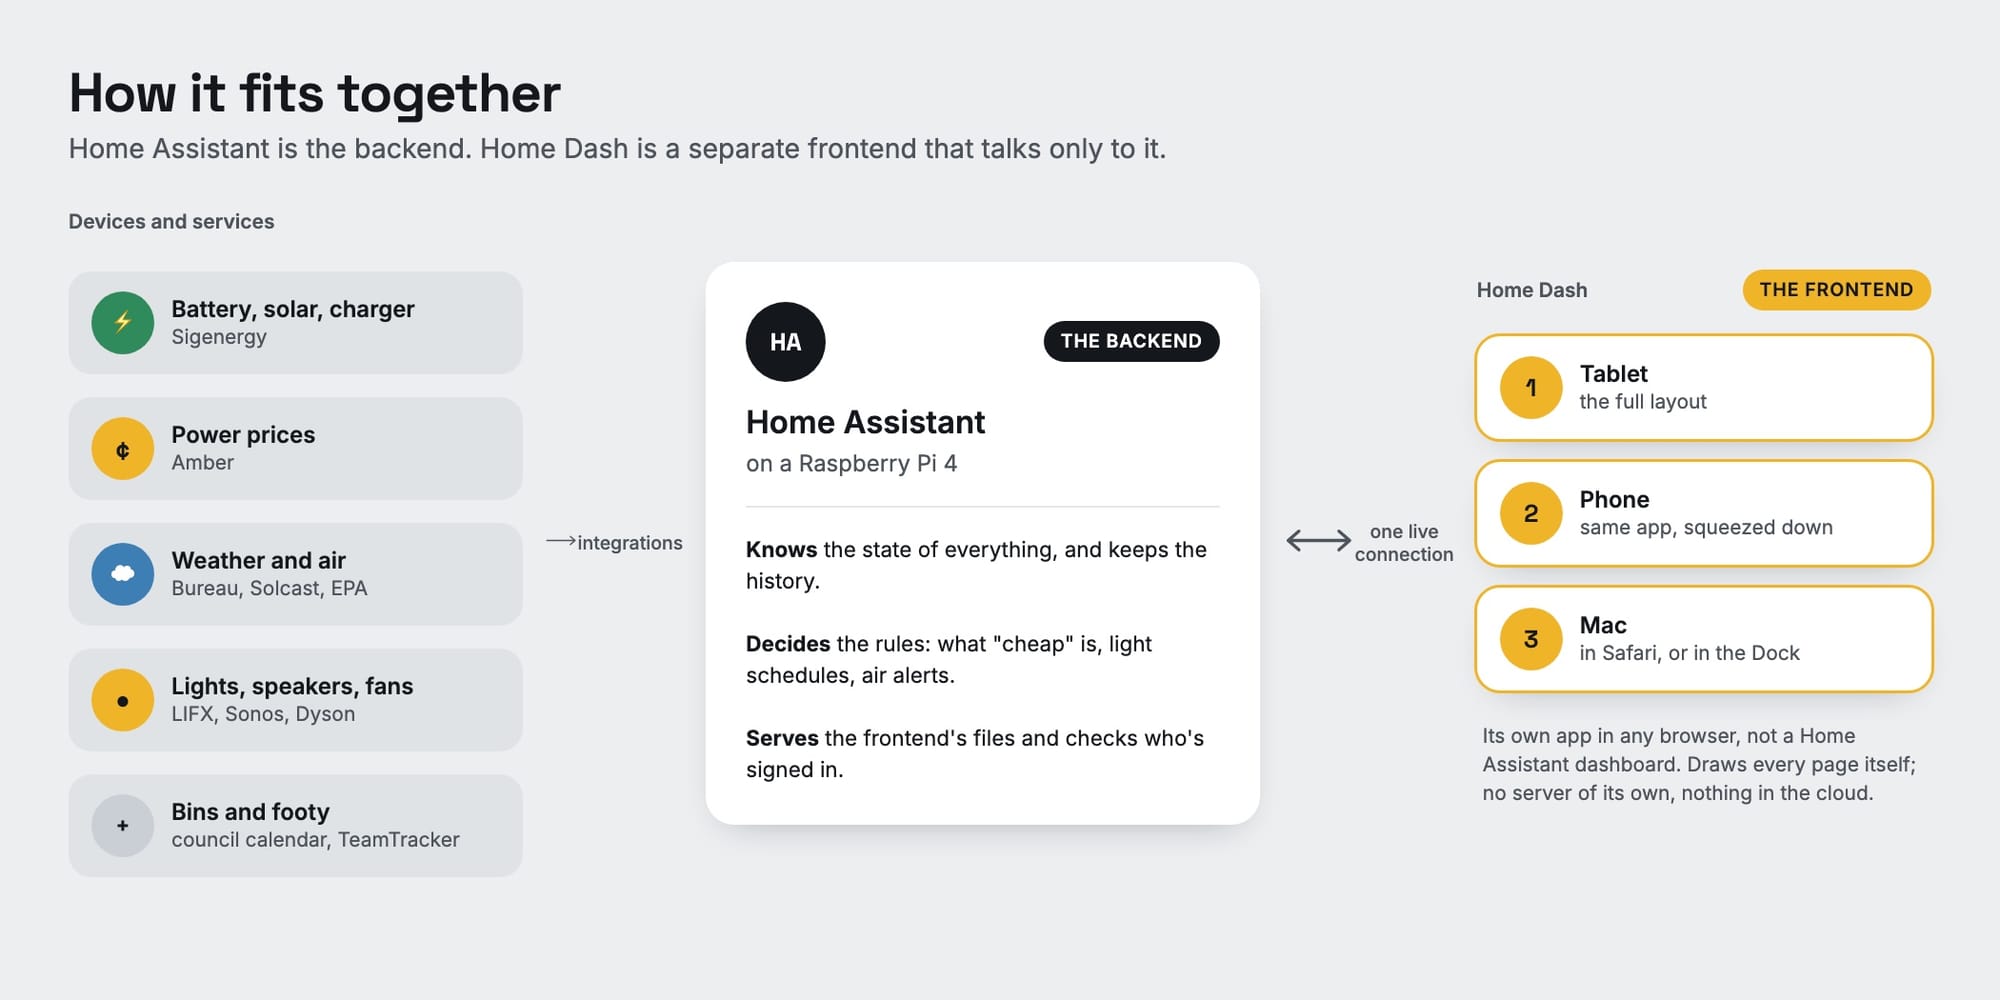
So the house is split in two:
- Home Assistant is the backend. It connects to every device, knows the state of everything, keeps the history, runs the automations and checks who's allowed in. It's very good at all of that, and I haven't replaced any of it.
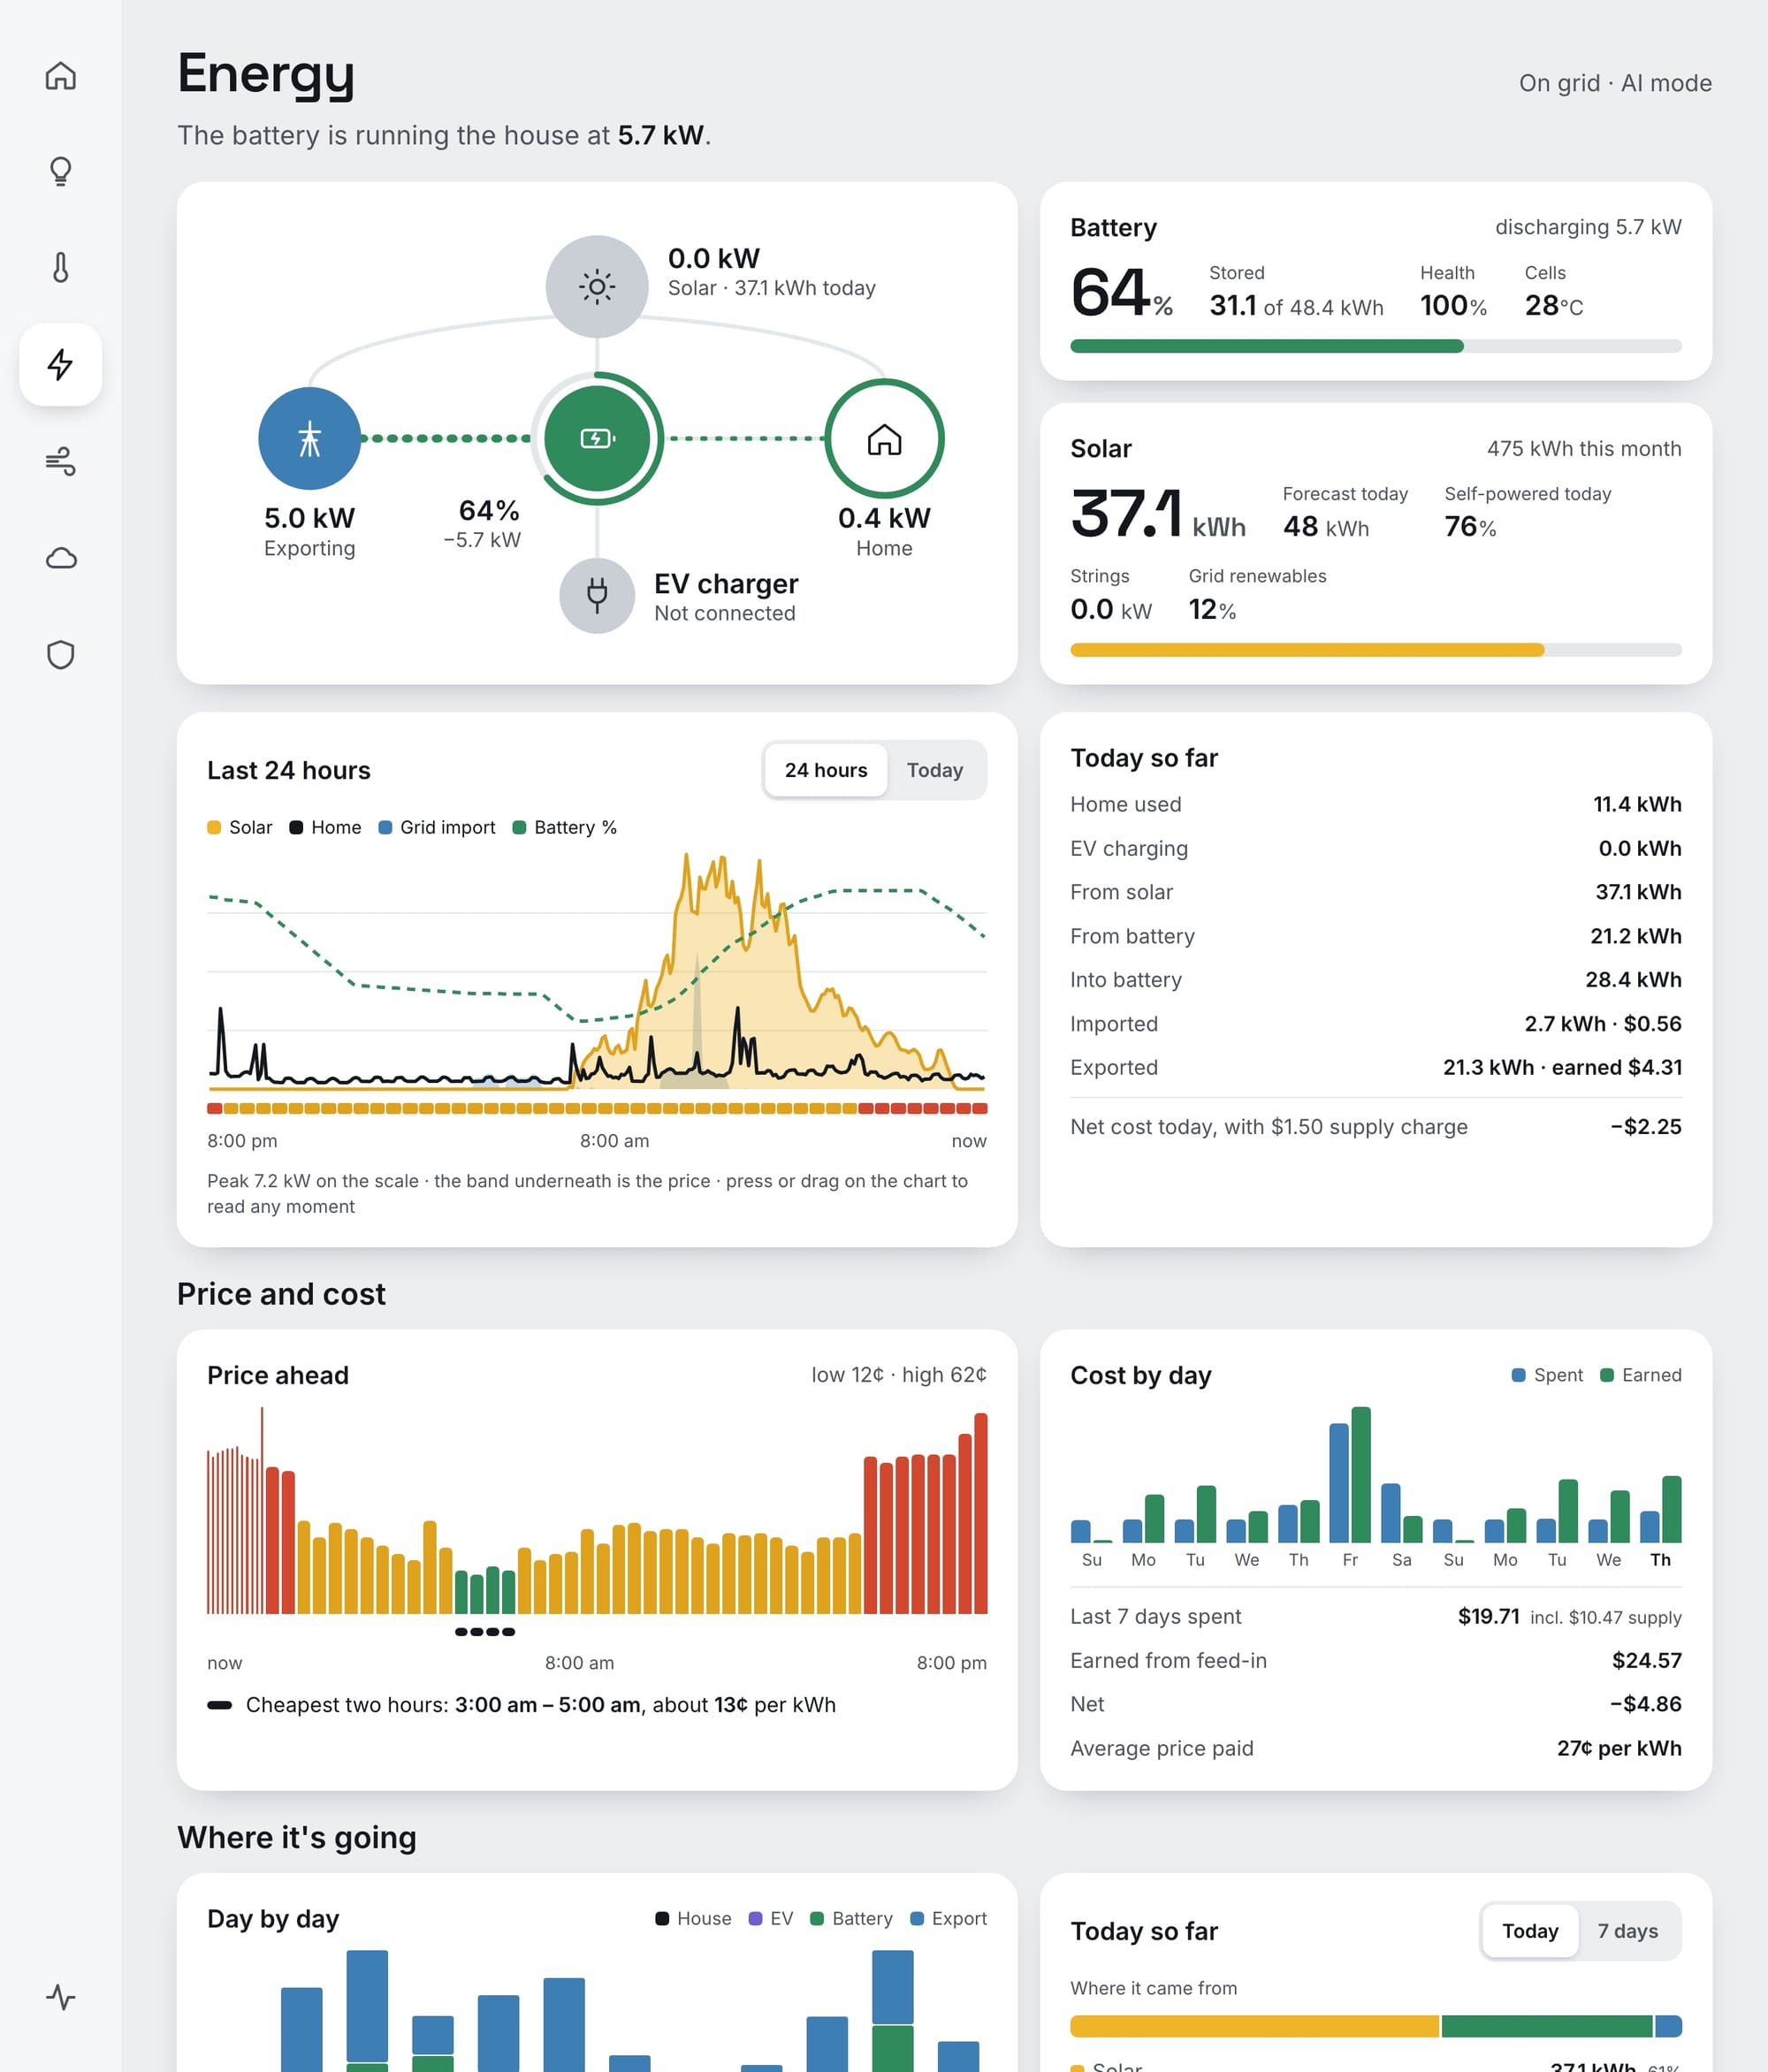
- Home Dash is the frontend. It decides what you see and how it feels. It asks Home Assistant for what it needs over the same connection Home Assistant's own interface uses, and draws everything itself.
Why bother? Because the two jobs pull in different directions. Home Assistant's interface has to work for every house and every device ever made. Mine only has to work for one house, so it can be opinionated: one screen, a few rules, nothing I don't use. And because they're separate, I can redesign a page without touching an automation, and Home Assistant can update itself without rearranging my wall.
The honest trade-off: it started life as a card inside Home Assistant, and moving it out meant building the things you get for free in there, like sign-in, reconnecting, and a page for when the house can't be reached. Home Assistant's own interface is still there for settings and setup. I just don't live in it.
The hardware
- The brain: a Raspberry Pi 4 on a network cable, running Home Assistant OS. That's it. No server rack, no NAS.
- Power: a Sigenergy system doing the battery (48 kWh), the solar inverter and the EV charger. It runs itself, and the dashboard only reads from it.
- Lights: ten LIFX lights. Lamps mostly, plus a few light strips.
- Sound: four Sonos speakers, including the soundbar under the TV.
- Air: two Dyson purifier fans in the bedrooms, which double as my only indoor temperature, humidity and air quality sensors.
- Network: UniFi gear, with the smart devices kept on their own networks away from the computers and phones.
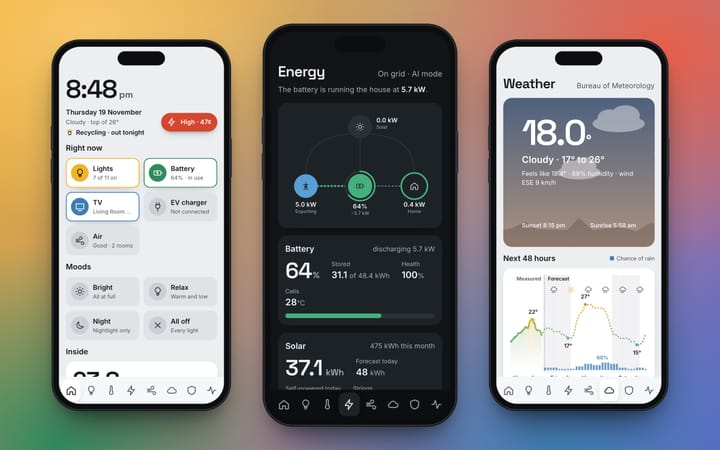
- Screens: whatever's nearby. A tablet, a phone, a Mac. It's the same app on all of them.
- Coming in December: new heating and cooling with an AirTouch 5, and a heat pump for the hot water.
The software in the house
Home Assistant is the hub. Everything talks to it, and the dashboard talks only to it. These are the pieces plugged in:
- Sigenergy (a community integration) for the battery, solar and charger, read every ten seconds.
- Amber Electric for live and forecast power prices.
- Solcast for the solar forecast.
- Bureau of Meteorology for observations, forecasts and warnings, with a second source filling in pressure and cloud cover.
- EPA Victoria for the air outside.
- LIFX, Sonos and Dyson for the things you can touch.
- Waste Collection Schedule for bin night, and TeamTracker for the footy.
A handful of rules live in Home Assistant rather than in the dashboard: what counts as cheap or expensive power, a few light schedules, and a nudge if a room's air stays poor. That way every screen agrees, because none of them is deciding anything.
Getting in from outside the house goes through a Cloudflare Tunnel, so there are no ports open on the router. At home, devices talk to the Pi directly.
The dashboard itself
This is the part I didn't expect to be so small.
- Plain JavaScript, no framework. No React, no Vue. Each page is built as a string of HTML and CSS, and the charts are hand-drawn SVG. No chart library either.
- One custom element. The whole dashboard is a single web component. A thin shell written in TypeScript wraps it and handles sign-in and the connection.
- Home Assistant's own WebSocket. The app opens one live connection, using Home Assistant's official JavaScript library. Every change in the house arrives as it happens, so nothing is polling.
- No server of its own. The Pi serves the files, the browser does the rest. There's no backend, no database and no accounts beyond Home Assistant's.
- Built with esbuild and Vite. The result is one file of about 200 KB, or 64 KB by the time it's sent, plus two typefaces (Inter and Space Grotesk) that live on the Pi too. Nothing is fetched from outside the house.
A few tricks I'm fond of
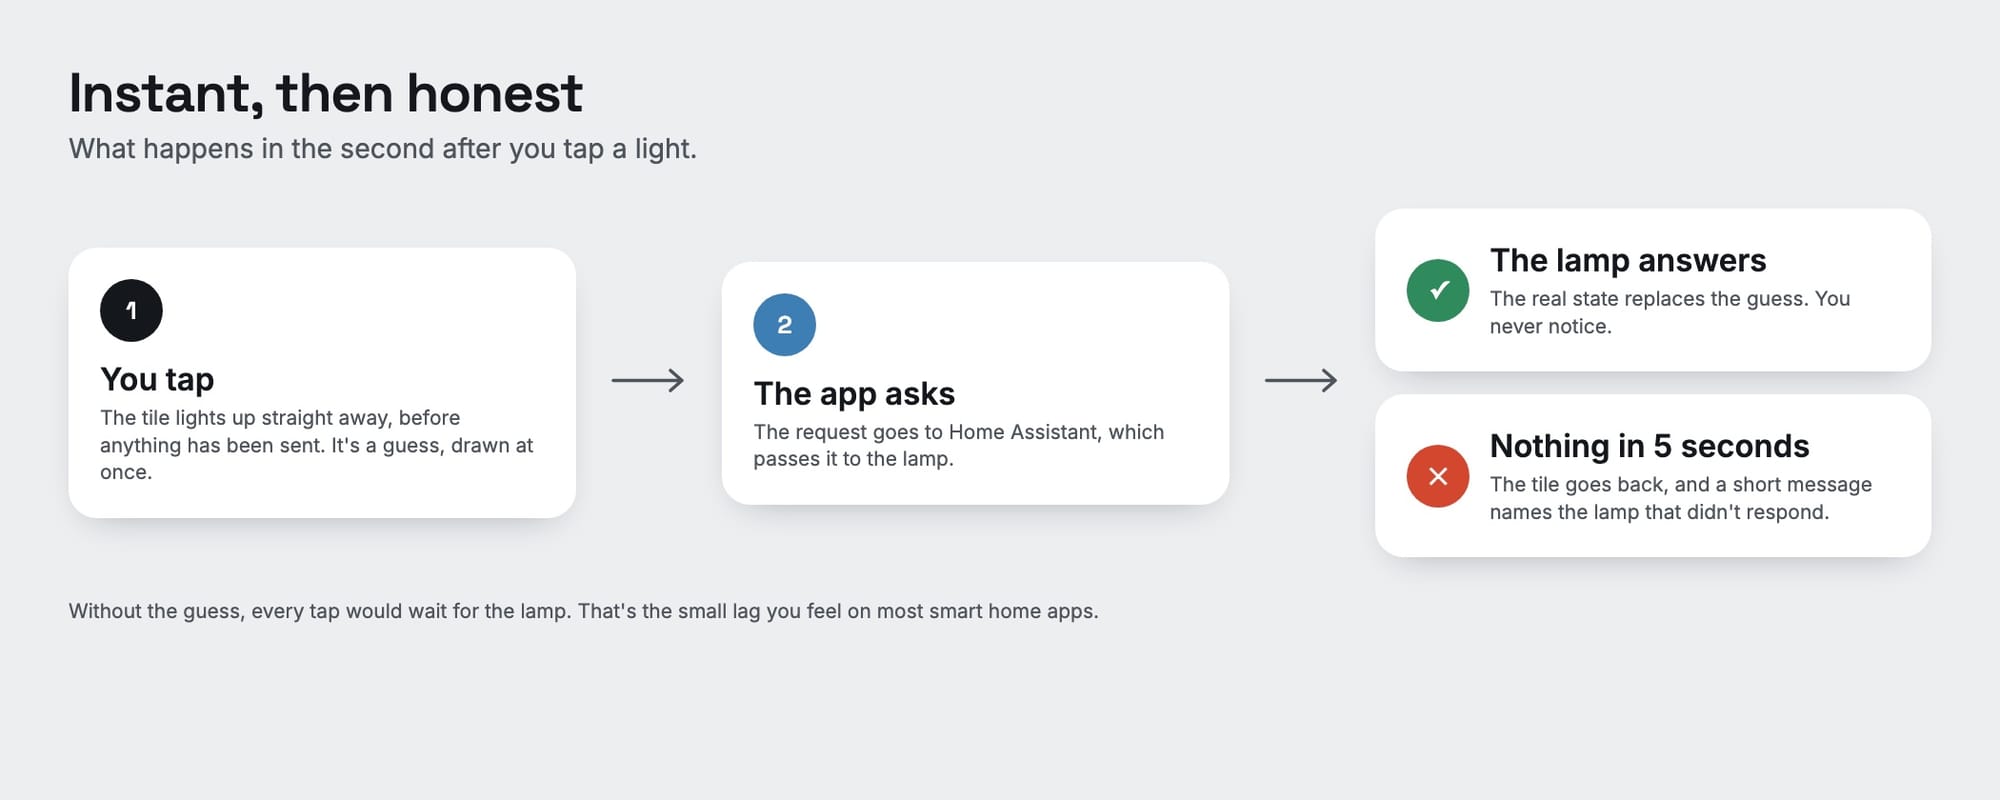
- It redraws only what changed. Each page is rebuilt in memory, then compared with what's on screen, and only the differences are touched. So animations don't restart and a chart you're reading doesn't jump.
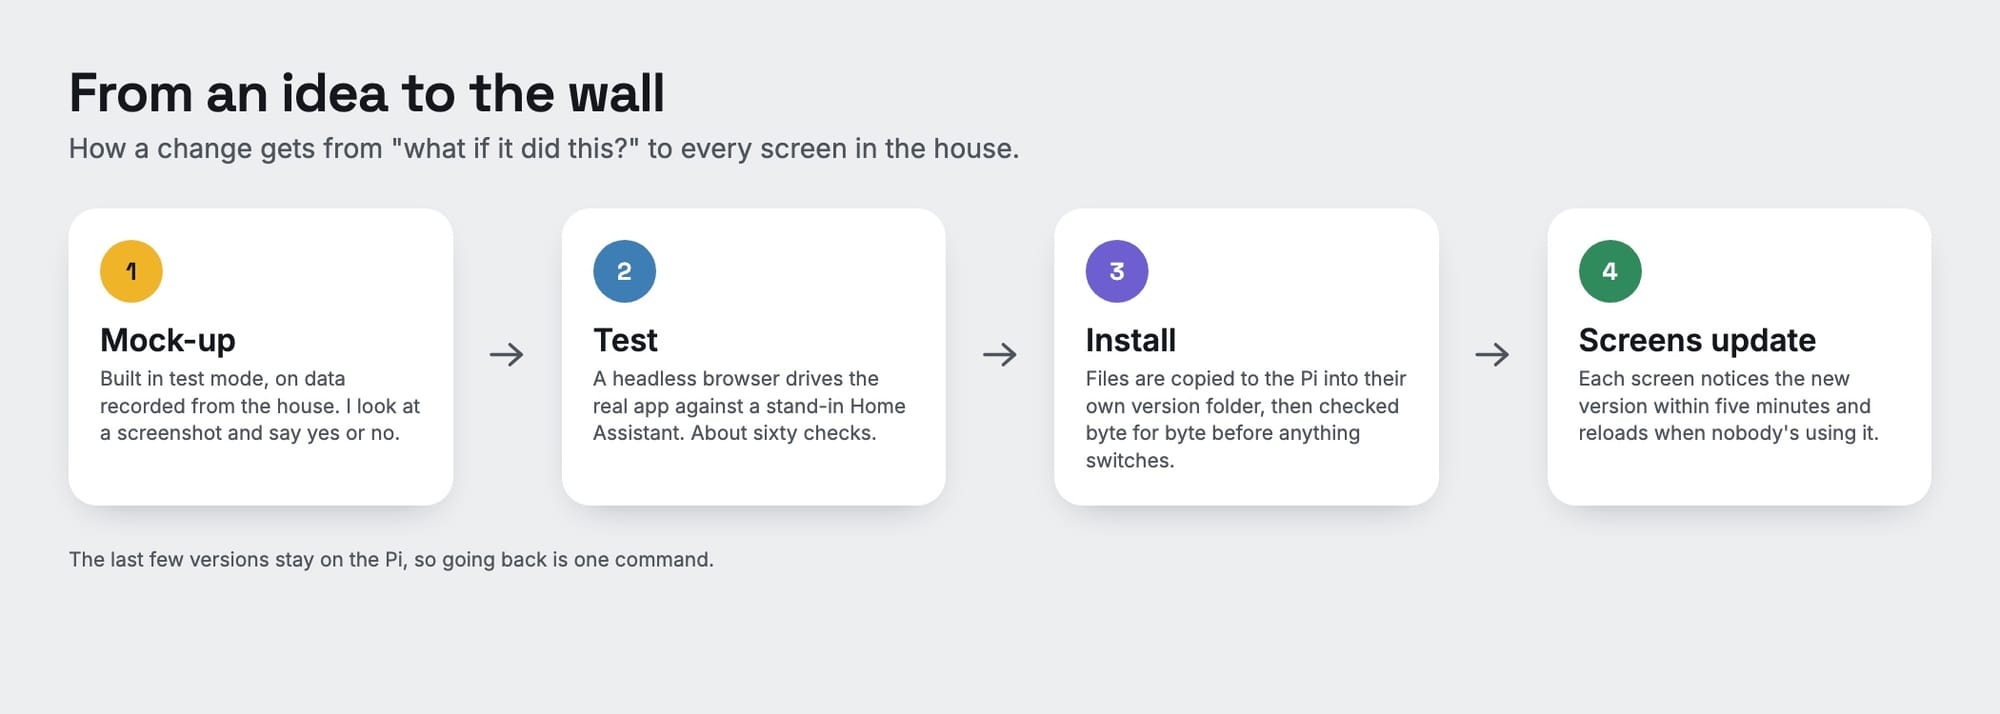
- It updates itself. Each screen checks every five minutes whether a newer version has been installed, and reloads once nobody's touched it for a minute. I never walk around refreshing tablets.
- Every version is kept. A new release goes into its own folder on the Pi, and the last few stay there. Going back is one command.
- It explains itself when it's broken. If the house can't be reached, a small page kept on each device checks the chain link by link and says which one failed.
How it gets built and tested
- A test mode on recorded data. One script records a snapshot of the real house, and the dashboard can run entirely on that, with no Home Assistant at all. Every screenshot on this site comes from it, and it's where every design gets looked at before it goes near the wall.
- A stand-in Home Assistant. For the sign-in and connection, a small pretend Home Assistant runs on my Mac, and a headless browser drives the real app against it: signing in, dropping the connection, taking the "house" down and bringing it back. About sixty checks run before every release.
- One command to release. It builds, copies the files to the Pi over SSH, checks the Pi is serving exactly what was built, and only then switches over.
- A decision log. Why the battery is read-only, why "cheap" is 15 cents, why the bin only shows two days out. Future me keeps thanking past me for that one.
How it got written
With Claude Code. I'm not a front-end developer, and in five days it came to around fifty releases and about 3,300 lines of code. How that actually worked day to day is its own article, coming soon.
The whole stack on one line each
- Hub: Home Assistant OS on a Raspberry Pi 4
- App: plain JavaScript web component, TypeScript shell, hand-drawn SVG charts
- Build: esbuild and Vite
- Connection: Home Assistant's WebSocket API
- Offline help: a small service worker
- Fonts: Inter and Space Grotesk, self-hosted
- Tests: Node, headless Chrome and a stand-in Home Assistant
- Release: a Python script over SSH, with versions kept for rollback
- Remote access: Cloudflare Tunnel
- Written with: Claude Code
If you want more detail on any of it, ask. I'm happy to share.